Many WordPress website owners don’t realise just how easy it is to add impressive photo galleries to their pages and posts, and some don’t even realise the feature exists at all. This tutorial will walk you through the process of inserting an image gallery into a page or post.
The post edit page
- Open your page or post as normal. You may wish to create a new, unpublished post to experiment with for this tutorial
- Place the cursor within the body text of your post where you’d like your gallery to appear
- Hit the ‘Add Media‘ button above the WYSIWYG editor
- Your media library will open.
The media library
- If you haven’t yet uploaded the photos you want to use in your gallery, select the ‘Upload Files‘ tab
- Before you upload any images to your website, make sure they are optimised for the web
- Hit the ‘Select Files‘ button. A file browser will open.
- Select the images on your computer that you want to use, then click ‘Open‘
- The selected images will now be uploaded to your media library
Creating a gallery
- Click the ‘Create Gallery‘ button in the left-hand pane
- Now select the images from your media library that you’d like to use in your gallery. Any images you’ve selected will have a tick
- Hit the ‘Create a new gallery‘ button, this will then take to to the ‘Edit Gallery‘ page
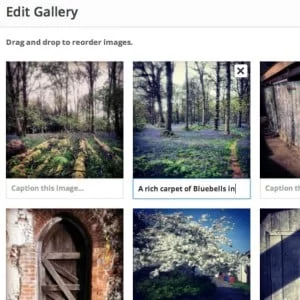
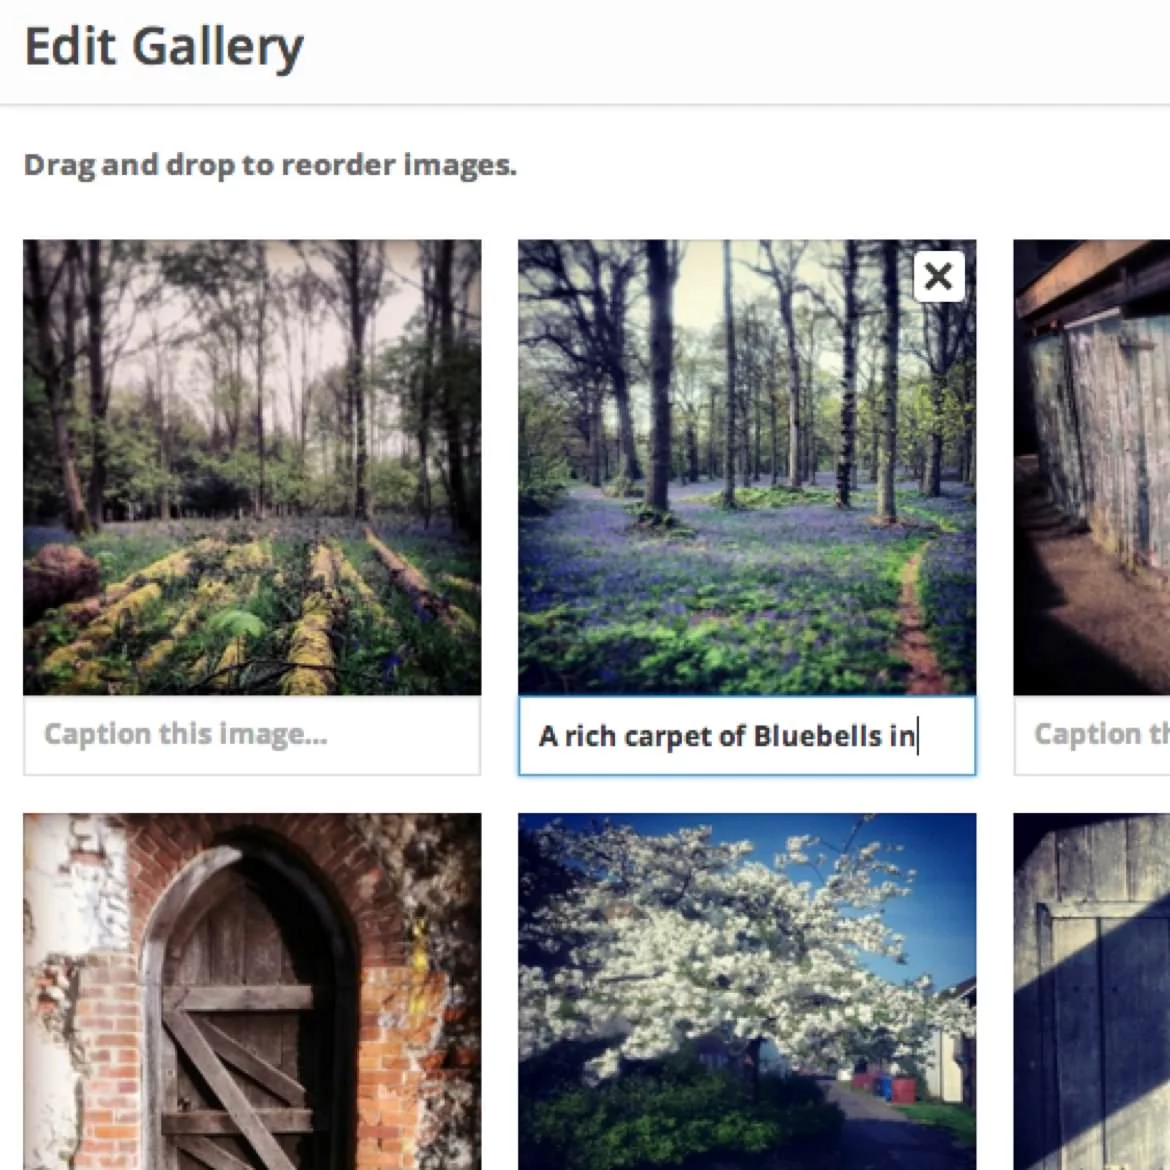
- You can now remove any images you don’t want after all, reorder images by dragging them, and add a caption to each image if you wish. Once published, the caption will normally appear beneath its corresponding image.
- Depending upon how many photos you’ve added to your gallery, you may wish to adjust the number of columns in the right-hand pane so that your gallery displays as a nice even grid. For example, if you have nine images, the default three columns would produce a 3×3 grid.
- Once you’re happy, hit ‘Insert gallery‘ to add your gallery to the post
- As of WordPress 3.9 you will now see an actual preview of the gallery as it will appear in your post. However, your theme will most likely render the gallery differently, so click ‘Preview‘ on the post edit page to see how it looks.
Not happy with your gallery?
By some stroke of luck you might be perfectly happy with your first attempt at adding a photo gallery. But if you’d like to make changes, follow these steps:
- Select the gallery by clicking on it on the post edit page
- Click the pencil icon that appears in the top-left on top of the gallery grid
- This will take you back to the ‘Edit Gallery‘ page, where you can perform all the same actions as before
- If you’re really not happy with your gallery, instead of clicking the pencil icon, you can click the cross to remove it completely
What happens when I click a gallery image?
Well, that depends on which option was set for the images when you created the gallery. Fundamentally you have a choice: either wrap a link around each image or not.
The link, if you create one, will lead through to a larger version of the image in question. Generally, if you’re creating an image gallery, this is the desired behaviour, because without that link your visitors will only see a tiny thumbnail version of each image in the gallery.
So we know we want to link each image, but WordPress gives us another choice: where to link to. The most basic option is to link to the image file itself. That way, when your reader clicks the image they will be taken to the raw full-size version of the image.
The alternative is to link through to what WordPress calls an ‘attachment page‘. WordPress has a special template for presenting these larger versions of images. Chances are your theme will have its own template that uses your site header, footer, and navigation.
Setting image links
On the ‘Edit Gallery’ page you might have noticed a drop-down select box in the right-hand pane called ‘Link to‘. This dropdown presents three options, allowing you to set whether the gallery images are linked to an attachment page, the media file itself, or not at all.
But wait! Before you start making any changes at this point, read on for a discussion of the benefits of each approach, and finally, what I think is actually a more elegant solution.
Image linking, usability, and SEO
There’s very little benefit to linking through to an attachment page. The reason being that unless you’re planning to write a detailed description for each image, the page that WordPress creates will be thin on content.
This won’t impress Google. So if you’re not using an SEO plugin such as Yoast WordPress SEO to ‘noindex’ these pages, they could actually be damaging your SEO efforts.
Linking through to the raw image file is better from an SEO perspective because Google understands this is just an image, rather than a page of content.
But this is not great from a usability perspective: upon clicking the image your visitor is then suddenly dumped onto a ‘page’ with just the raw image, and without any navigation. They will now be disorientated, and will have to click the ‘back’ arrow to return to your website. Not ideal user experience.
There’s a plugin for that…

In my view, the best solution is to install a lightbox plugin, such as Responsive Lightbox. These plugins can unfortunately add a bit of page weight, but they do allow your website to gracefully handle linking a gallery preview image through to the full-size photo.
When your visitor clicks an image, the larger version will ‘pop-up’ in front of your page in a lightbox. The lightbox controls will then allow them to scroll through all the images in the gallery set, without having to go back to your post to click on the next image in the gallery.
Handy tip: Just install the plugin and away you go. But for best results I’d recommend going to the plugin settings (under ‘Settings‘ -> ‘Responsive Lightbox‘) and selecting the ‘Swipebox‘ lightbox script.
Go create some great galleries
That’s plenty of information to get you started with creating image galleries in WordPress. But if you need any further help give us a shout!
